Titanit Research and Development Laboratory
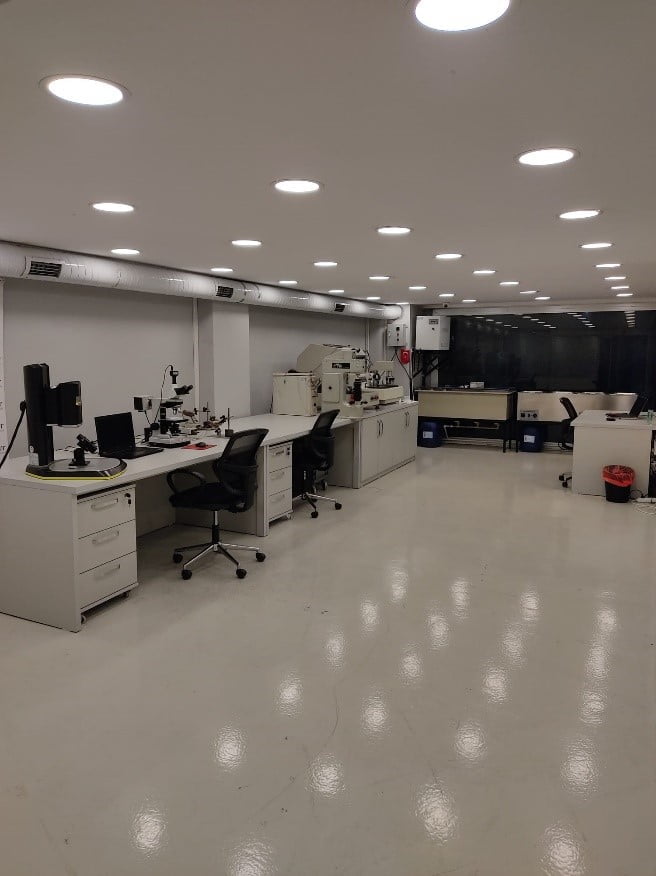
Our company has the infrastructure within itself that can perform basic skin characterizations (coating thickness, adhesion) and overall metallographic sample preparation. Electro polishing and passivation systems for stainless steel samples are also available in the Research and Development Laboratory. Additionally, it has an ultra-precise Zoller measuring device to measure the wear ratio of incisors and incisors used to cut teams before and after the pick-up-edge rounding process.
Our company also uses the nanotechnology-tribology laboratory facilities of various universities, such as the Istanbul Technical University, Koç University-Kuytam, Naval War College, Sabancı University-Presentation, for advanced analysis and characterization measurements of thin film overlays. It also operates state-sponsored projects with these universities and specializes in laboratory procurement under the projects.
Our company, aware that quality can only be achieved by up-to-date, continually monitors the latest developments and academic literature in the world and incorporates cutting-edge technology through regular investments.
Our Devices
CALOTEST COATING THICKNESS MEASUREMENT
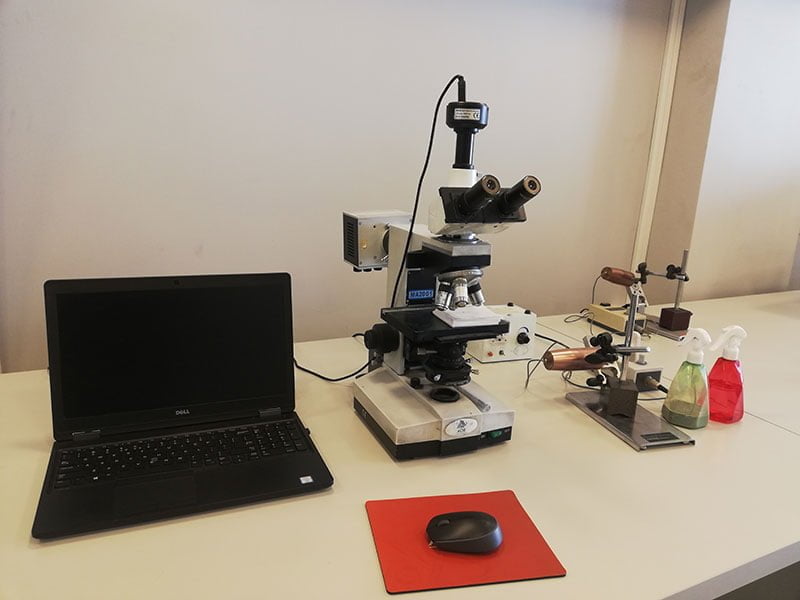
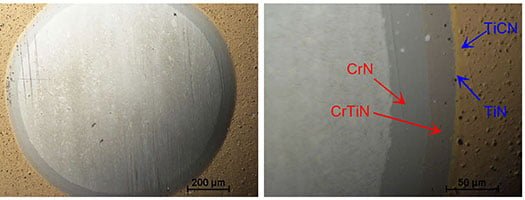
This method is also called “Cracking Craters With Ball.” The steel marble, which rotates at a certain speed of rotation on the coating surface, erodes the coating surface with the diamond suspension on the intermediate surface and forms a crater on the surface. By measuring distance under the optical microscope on the resulting crater, the coating thickness can be measured precisely with a mathematical formulation developed for this purpose. The method produces much more precise results compared to non-invasive methods such as XRF.
COATING ADHESION MEASUREMENT
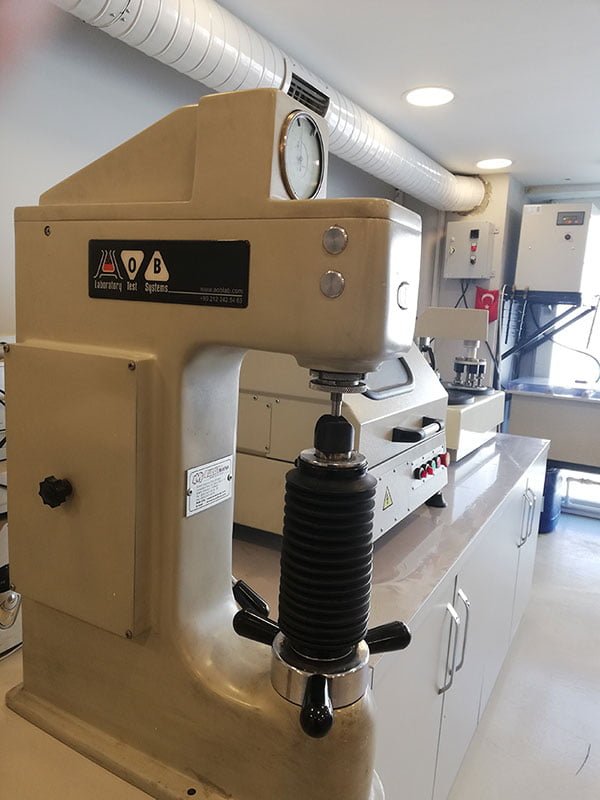
Developed by Daimler-Benz and described by the German standard VDI 3198, it is the most widely accepted and practiced thin film adhesion (adhesion) measurement technique in the world. The method is based on the principle of creating traces on the coating surface at 150 kg under load with the Rockwell-C tip. The resulting HR array is analyzed by x100 magnification in the optical microscope and is compared to the standard pattern of shear cracking and spilling around the trail, revealing the quality information about the strength of the skin sticking to the base material. The standard pattern is shown below and corresponds to a total of 6 adhesive groups between HF1 and HF6. While adhesions between HF1 and HF4 are acceptable, HF5 and HF6 are unacceptable, meaning insufficient skin adhesion.
ZOLLER DEVICE
Drag Finishing improves mouthfulness and strength in the incisors of cutting teams, both by mechanical remediation of sharpening marks and surface errors, as well as by rounding up sharp edges to generate radius. Images of an electron microscope of a cutting edge before and after edge rounding are presented below:
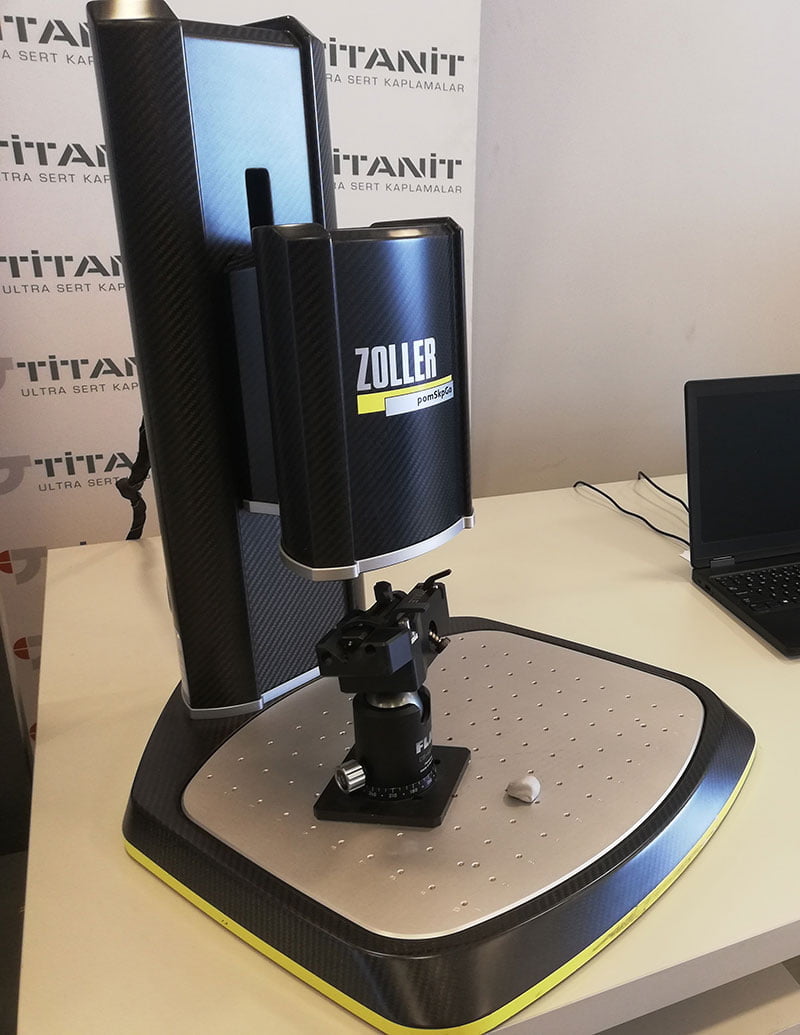
The resulting edge radius has an extremely precise micrometer level of measurement, and the Zoller device is used in an ultra-precise measurement of these radiuses. This allows for accurate measurements of surface-to-surface erosion strip width (Vb) in teams with adequate radiusand as to the correction state of the surface anchors, and in used-wear teams, to be measured using the Zoller device.
The device’s image, three-dimensional profile views and two-dimensional wear measurement images are shown below.
PREPARING METALOGRAPHIC SAMPLES
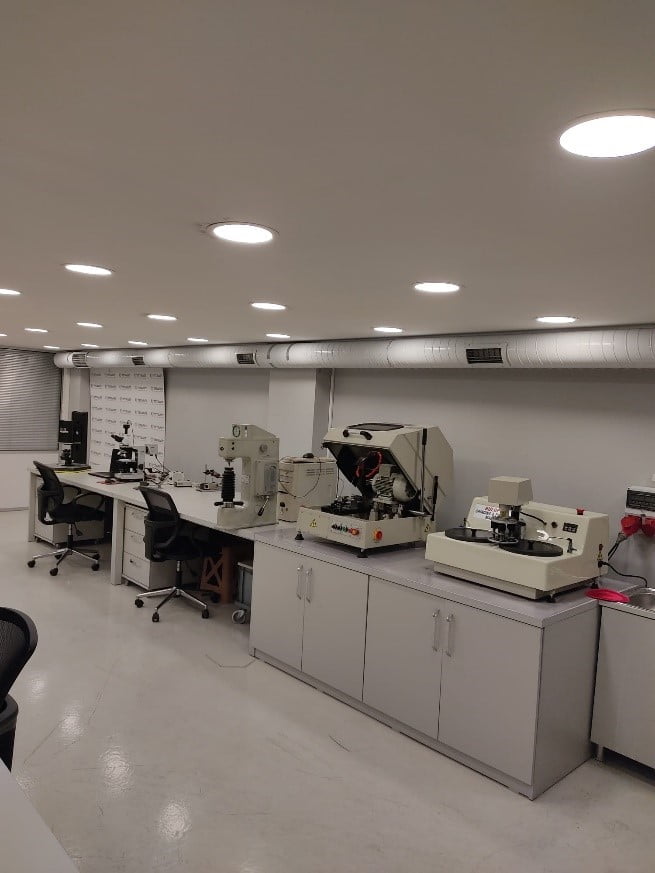
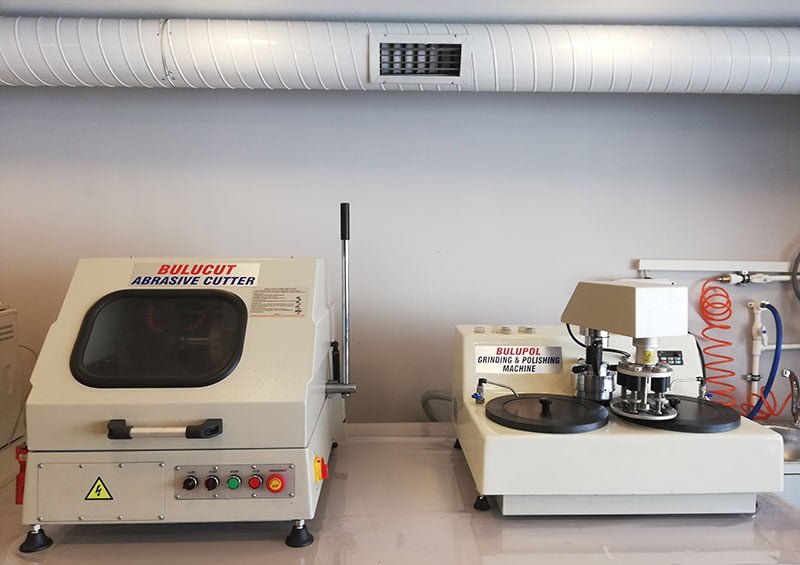
Metalographic sample preparation processes use sample cutting, cold molding, and full automatic polishing devices. Images of the devices are below.
The coated samples for cross-section analysis are first cut, then molded, and then made available for cross section examination in the Interlaced Electron Microscope or similar analyzer, with the latest metallographic polarization and branding (etching) operations.
ELECTRO POLISHING AND PASSIVATION SYSTEM
The use of stainless steel is increasing with the use of incisors, particularly for medical applications. Specifically developed for this work, martenzytic stainless steel is capable of both thermal hardening and easy polish, and these products make up a significant part of our coating portfolio. We’ve been working very hard on the development of corrosion properties through the electro polishing of these stainless steel materials and the method of passivation. We regularly test the effectiveness of the polarization and aspiration processes we develop in the Corrosion Laboratories of Universities. We also continue our process development efforts for different types of stainless steel.
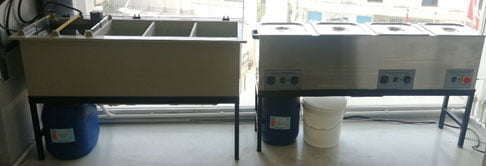
Here is a view of the electro polishing and navigation devices in our laboratory.
